Welcome to Smart Wallet — the next-generation cryptocurrency wallet! In this guide, we will walk you through the process of creating your first wallet in Smart Wallet.
Download the Smart Wallet app from the App Store if your smartphone runs on iOS, or from Google Play if you use Android.
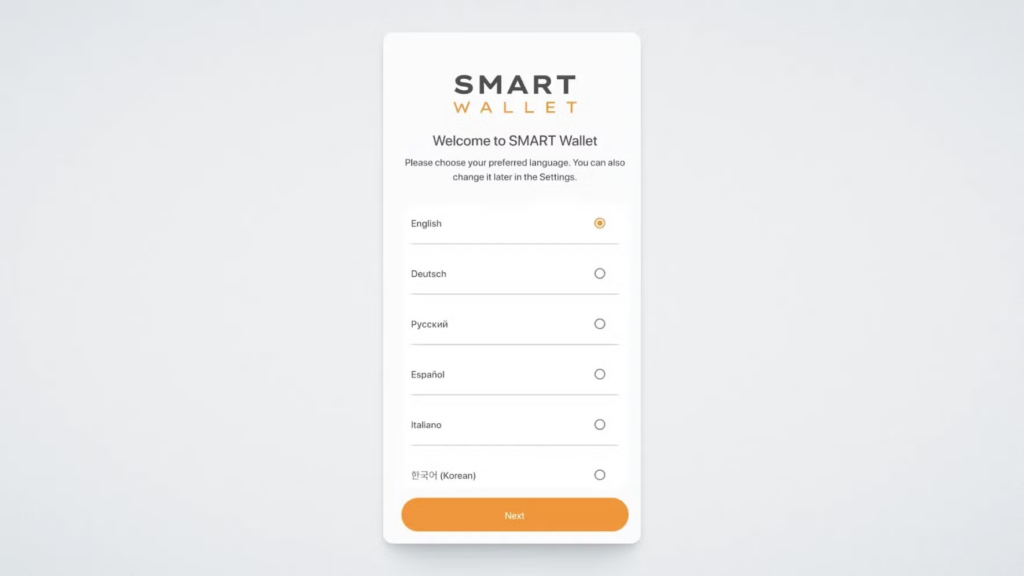
When you launch the wallet, you will be prompted to select the app language. Choose the language that you are comfortable using with Smart Wallet. Please note that it may take some time for the network to load the desired language. If the language you need doesn’t load immediately, please wait a little while.
In this guide, we will demonstrate the app setup using the English interface.
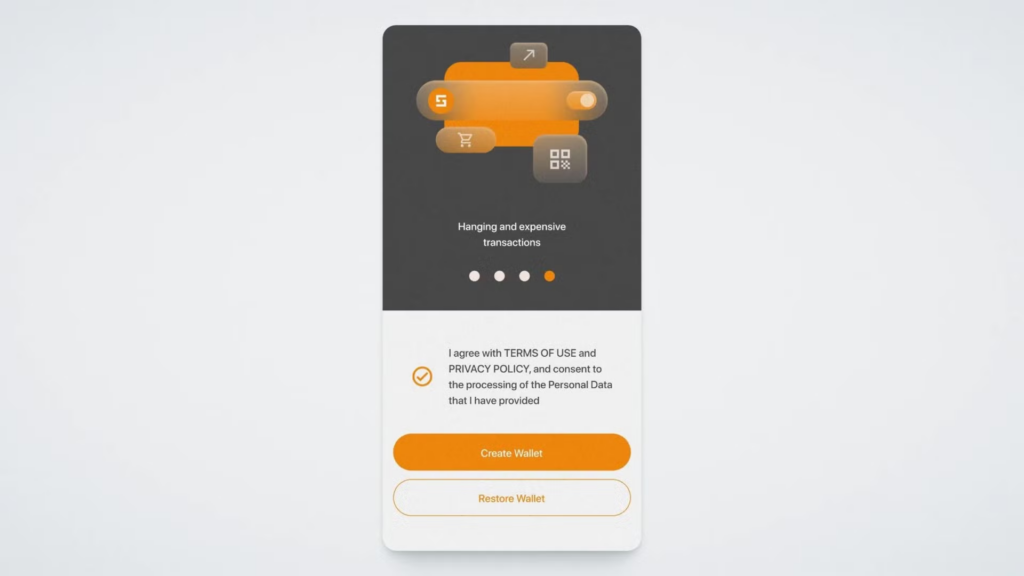
Now confirm your agreement to the terms of use by checking the box. Then click the “Create Wallet” button:
Smart Wallet will offer you two options: Basic Security and Passphrase Security. In this guide, we will cover each mode, but we recommend using the Passphrase Security option. At the wallet creation stage, you can also select the “Use Smart Defender” option if you have a cold wallet. We will also demonstrate the process of creating a new wallet using Smart Defender in this guide.
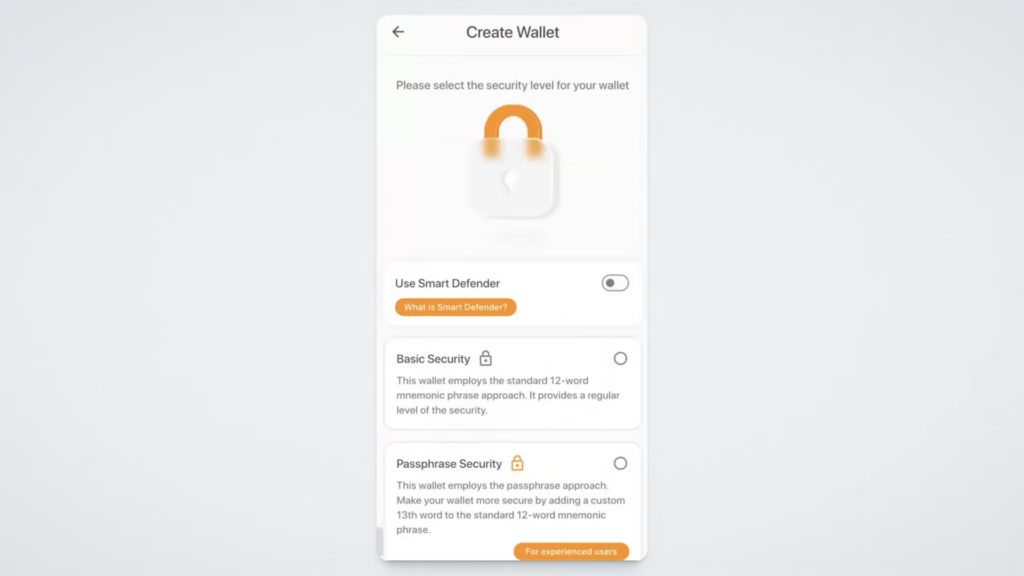
This security mode is recommended for experienced users. It differs in that, in addition to the mnemonic phrase, the wallet will prompt you to create a passphrase — a thirteenth, additional word to your mnemonic phrase. The passphrase is not stored in Smart Wallet, and only the user knows it. It will protect your wallet if you lose access to your 12-word mnemonic phrase.
Note that if you lose or forget your passphrase, it will be impossible to recover it, and you will permanently lose access to your wallet. Therefore, we recommend using a passphrase only for experienced cryptocurrency users. If you are a beginner and unsure if you can keep the passphrase safe, switch to the standard Basic Security mode.
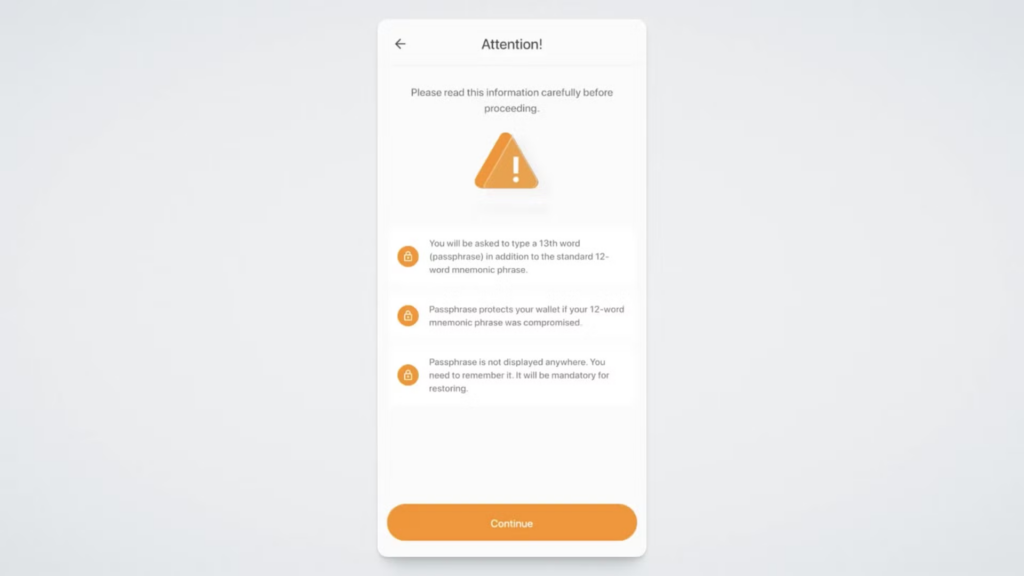
So, select the High Security mode. Smart Wallet will remind you about the role of the passphrase and the rules for creating it. Click “Continue”:
A screen will open with your 12-word mnemonic phrase generated at the top. To read the words, press and hold the button “Press and Hold to see Phrase” under the phrases. Note that taking screenshots and videos of the mnemonic phrase is off by default. This prevents unauthorized access to your wallet.
Below the mnemonic phrase, there will be a window for creating the passphrase — a secret word to restore access to your wallet.
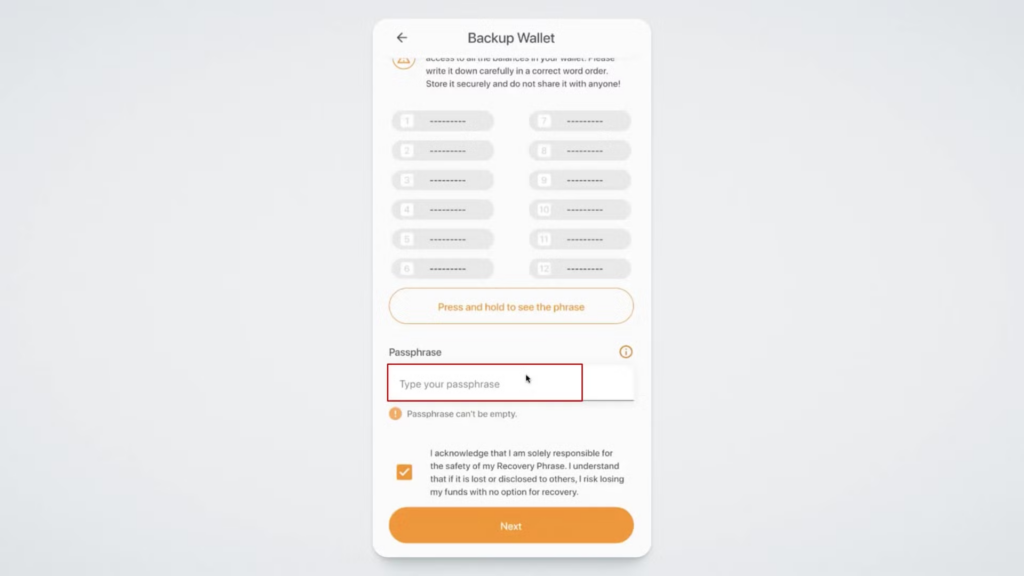
Create and enter your passphrase, then click “Next”.
Note that Smart Wallet does not store your passphrases. Therefore, it is crucial to securely save and remember this word. Smart Wallet will warn you about this. Click “OK” to proceed:
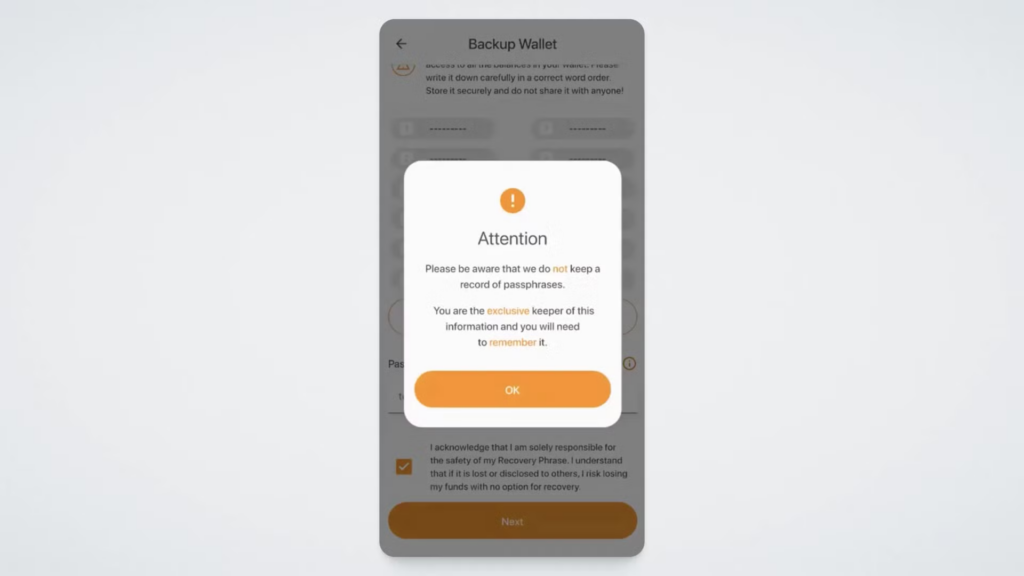
Next, the wallet will ask you to select all the words from the mnemonic phrase in the correct order and enter the passphrase. Do this and click “Next”:
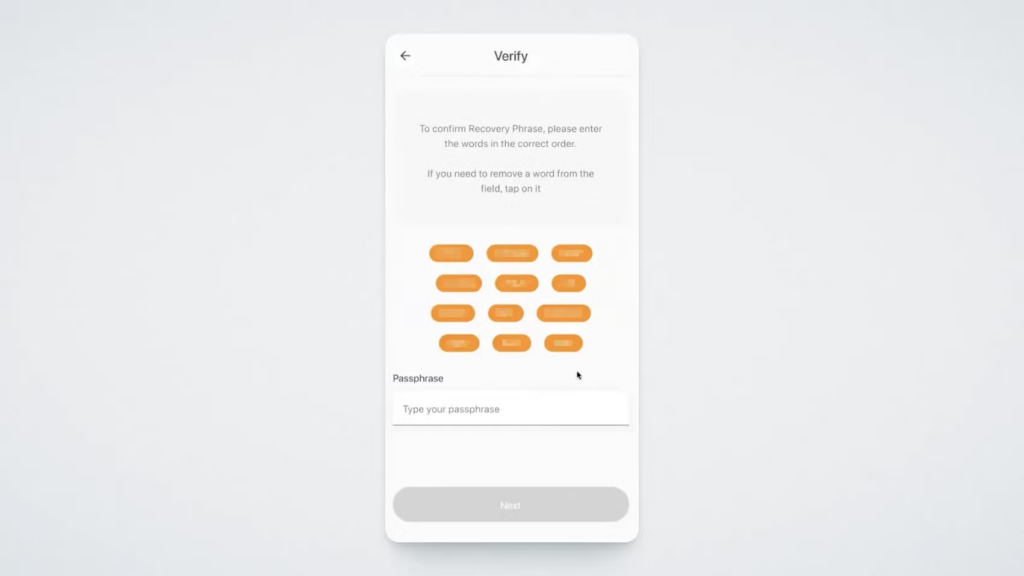
If everything is correct, you will see the following message:
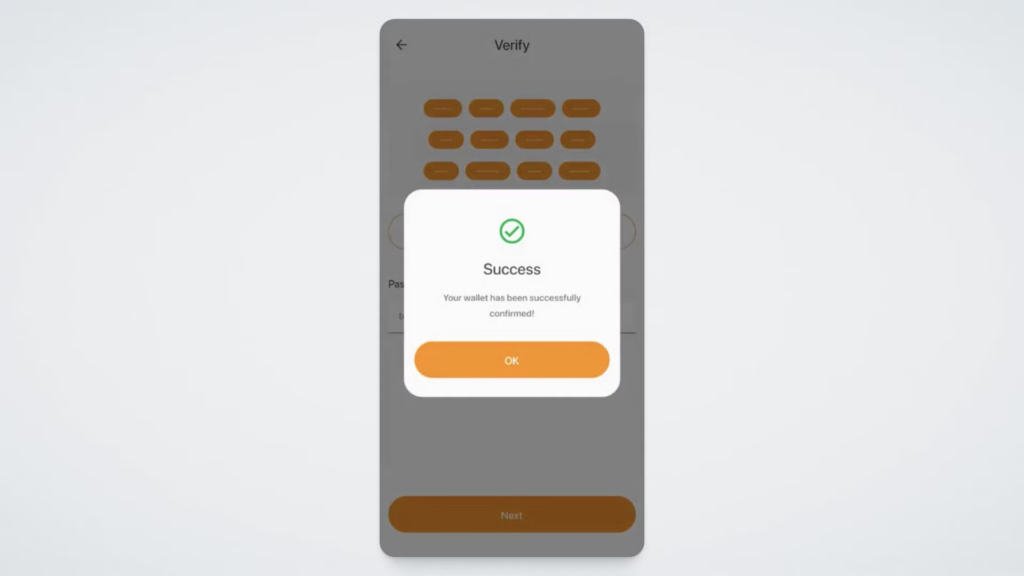
That’s it — your wallet is created!
Important points when creating a passphrase and importing a wallet with it:
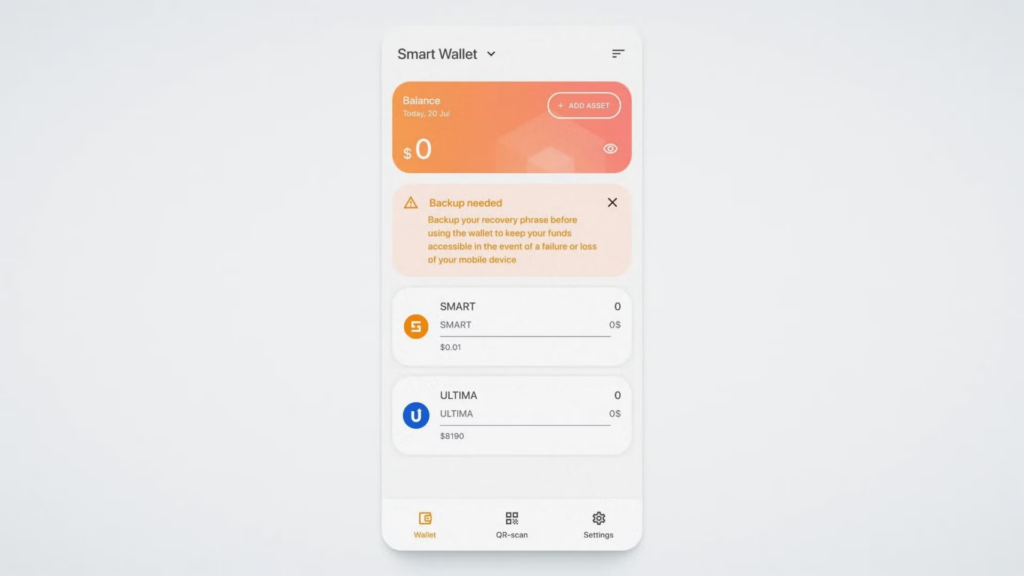
When choosing Basic Security, Smart Wallet will instantly create a new wallet for you. After this, you will need to save your mnemonic phrase to restore access to your wallet. To do this, tap the “Backup needed” message on the main screen:
A screen will open where you will see 12 words. To read them, press and hold the “Press and Hold to see Phrase” button under the phrases:
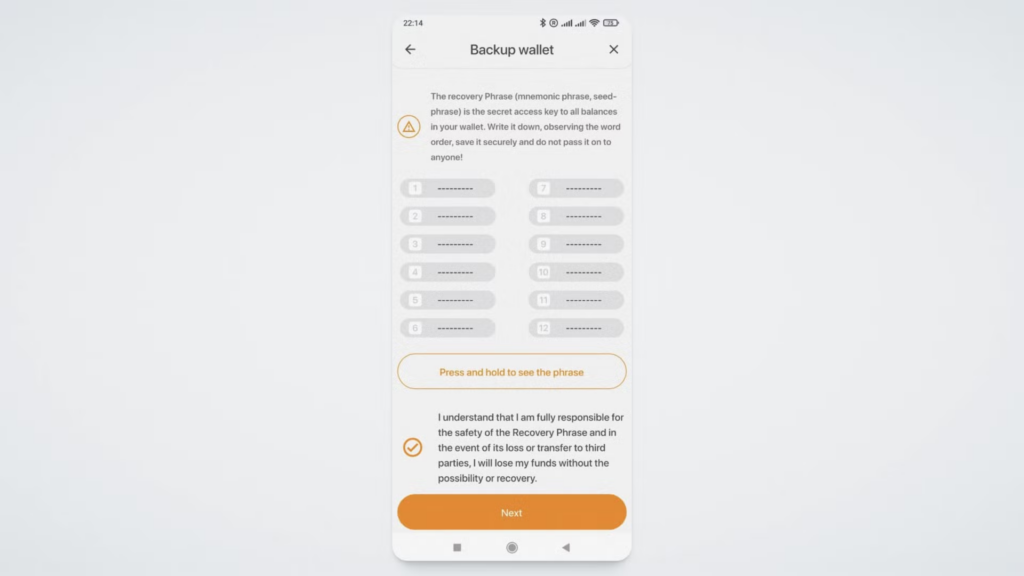
Please be careful at this stage — this phrase is the key to your funds’ security. We recommend writing it down on a piece of paper. Do not store the mnemonic phrase on electronic devices or share it with others.
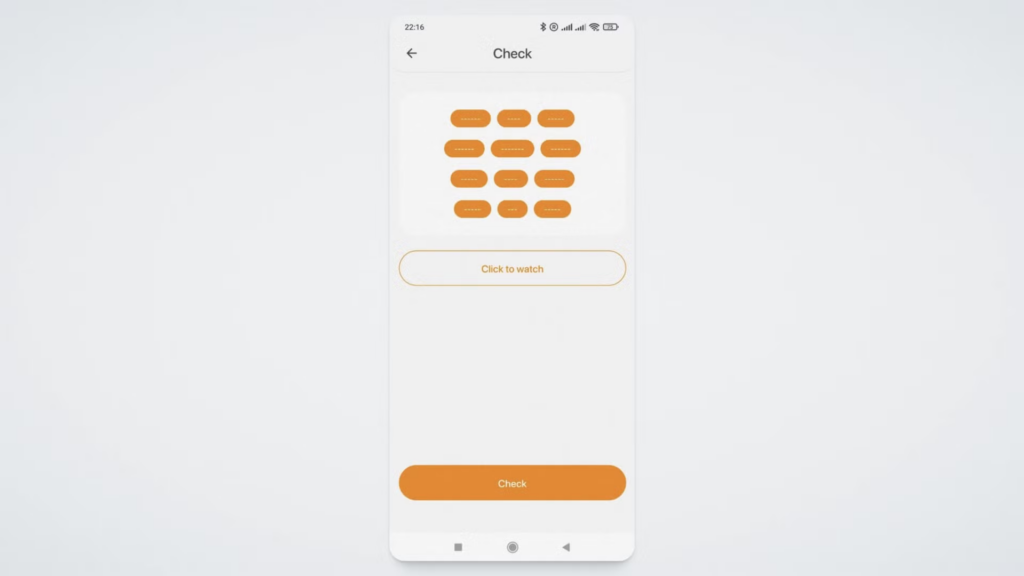
To continue using the app, you will need to confirm your mnemonic phrase by selecting the words in the correct order.
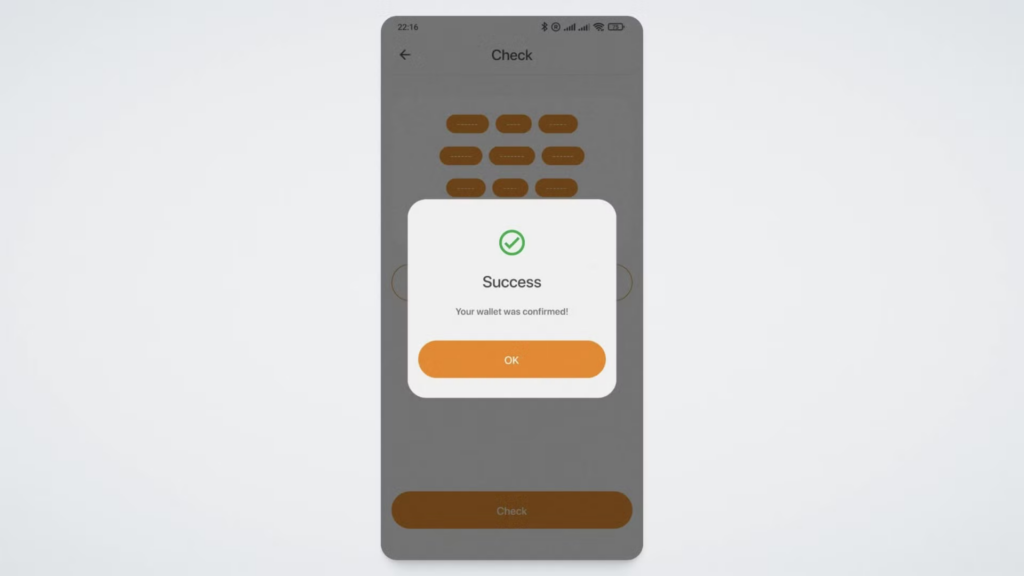
If everything is correct, a congratulatory message will appear.
Never share your mnemonic phrase!
SMART DEFENDER is a card with an NFC chip that stores part of the private key. It is used to confirm transactions in Smart Wallet — transferring tokens and requesting rewards for splitting. To confirm a transaction, simply tap the Smart Defender cold wallet to the smartphone with Smart Wallet installed. This ensures that access to any cryptocurrency transactions in Smart Wallet remains solely in the hands of the Smart Defender owner. Even if the smartphone is lost, the user’s cryptocurrency will remain secure. Below, we will explain how to set up the Smart Defender when creating a wallet.
Select “Use Smart Defender” when creating a wallet.
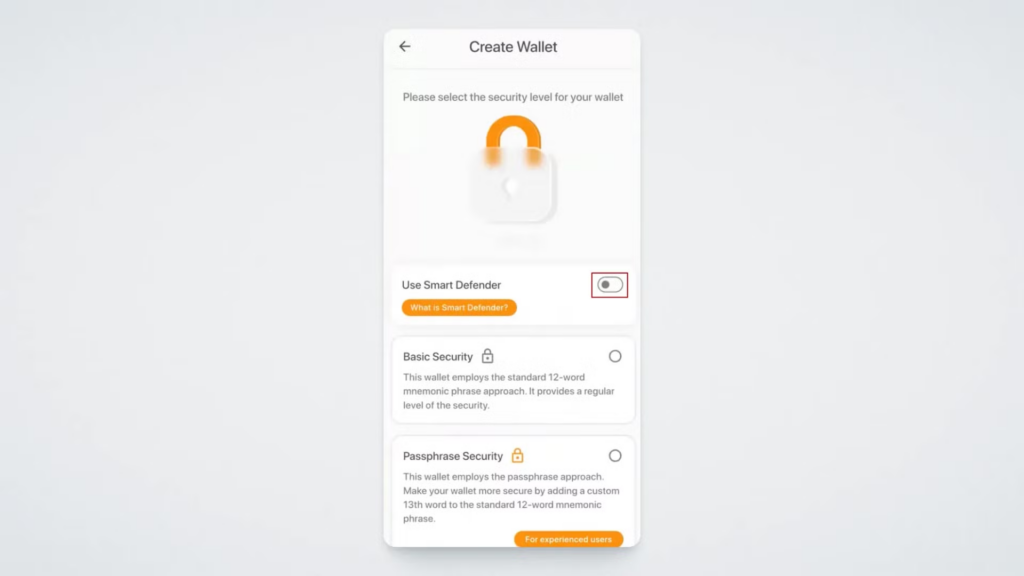
The wallet will show you an explanation of what Smart Defender is:
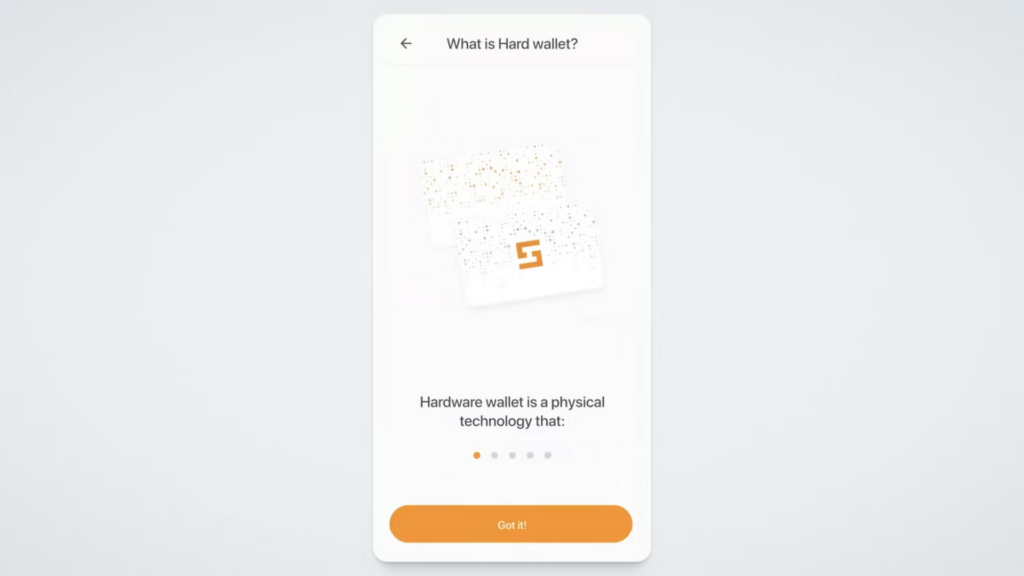
Click “Got it!” to proceed with the setup. On the next screen, you will be prompted to tap your Smart Defender to the smartphone.
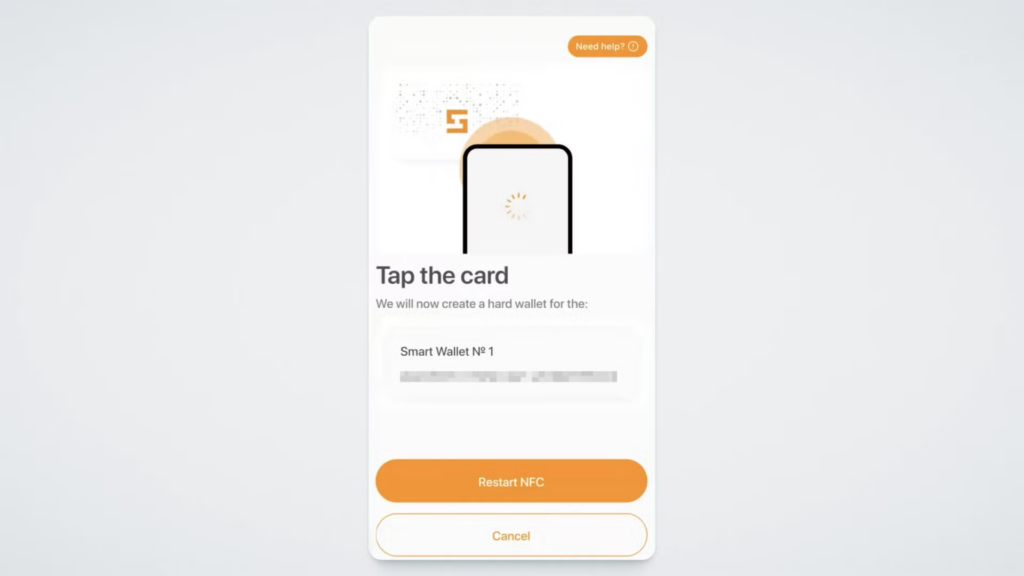
Tap the card on the side of the camera: that’s where the chip is located in smartphones. Hold the card for 1–2 seconds. If you remove the card too quickly, it may not be read.
Note: In some cases, you may need to enable NFC in your device’s settings.
When the setup is complete, you will see a notification:
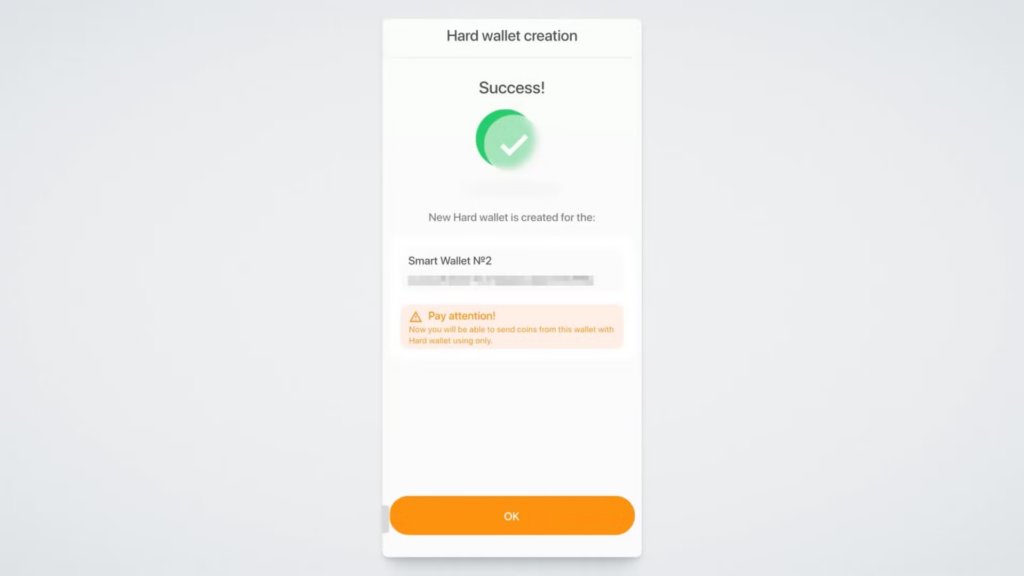
We wish you a pleasant experience!